
Unboxing Your Succulent Cuttings:
1. Prepare Your Space:
- Find a clean, well-lit area to unbox your cuttings. Ensure you have a soft surface to place the cuttings on, like a towel or a tray.
2. Carefully Open the Package:
- Gently open the box, taking care not to damage the cuttings inside.
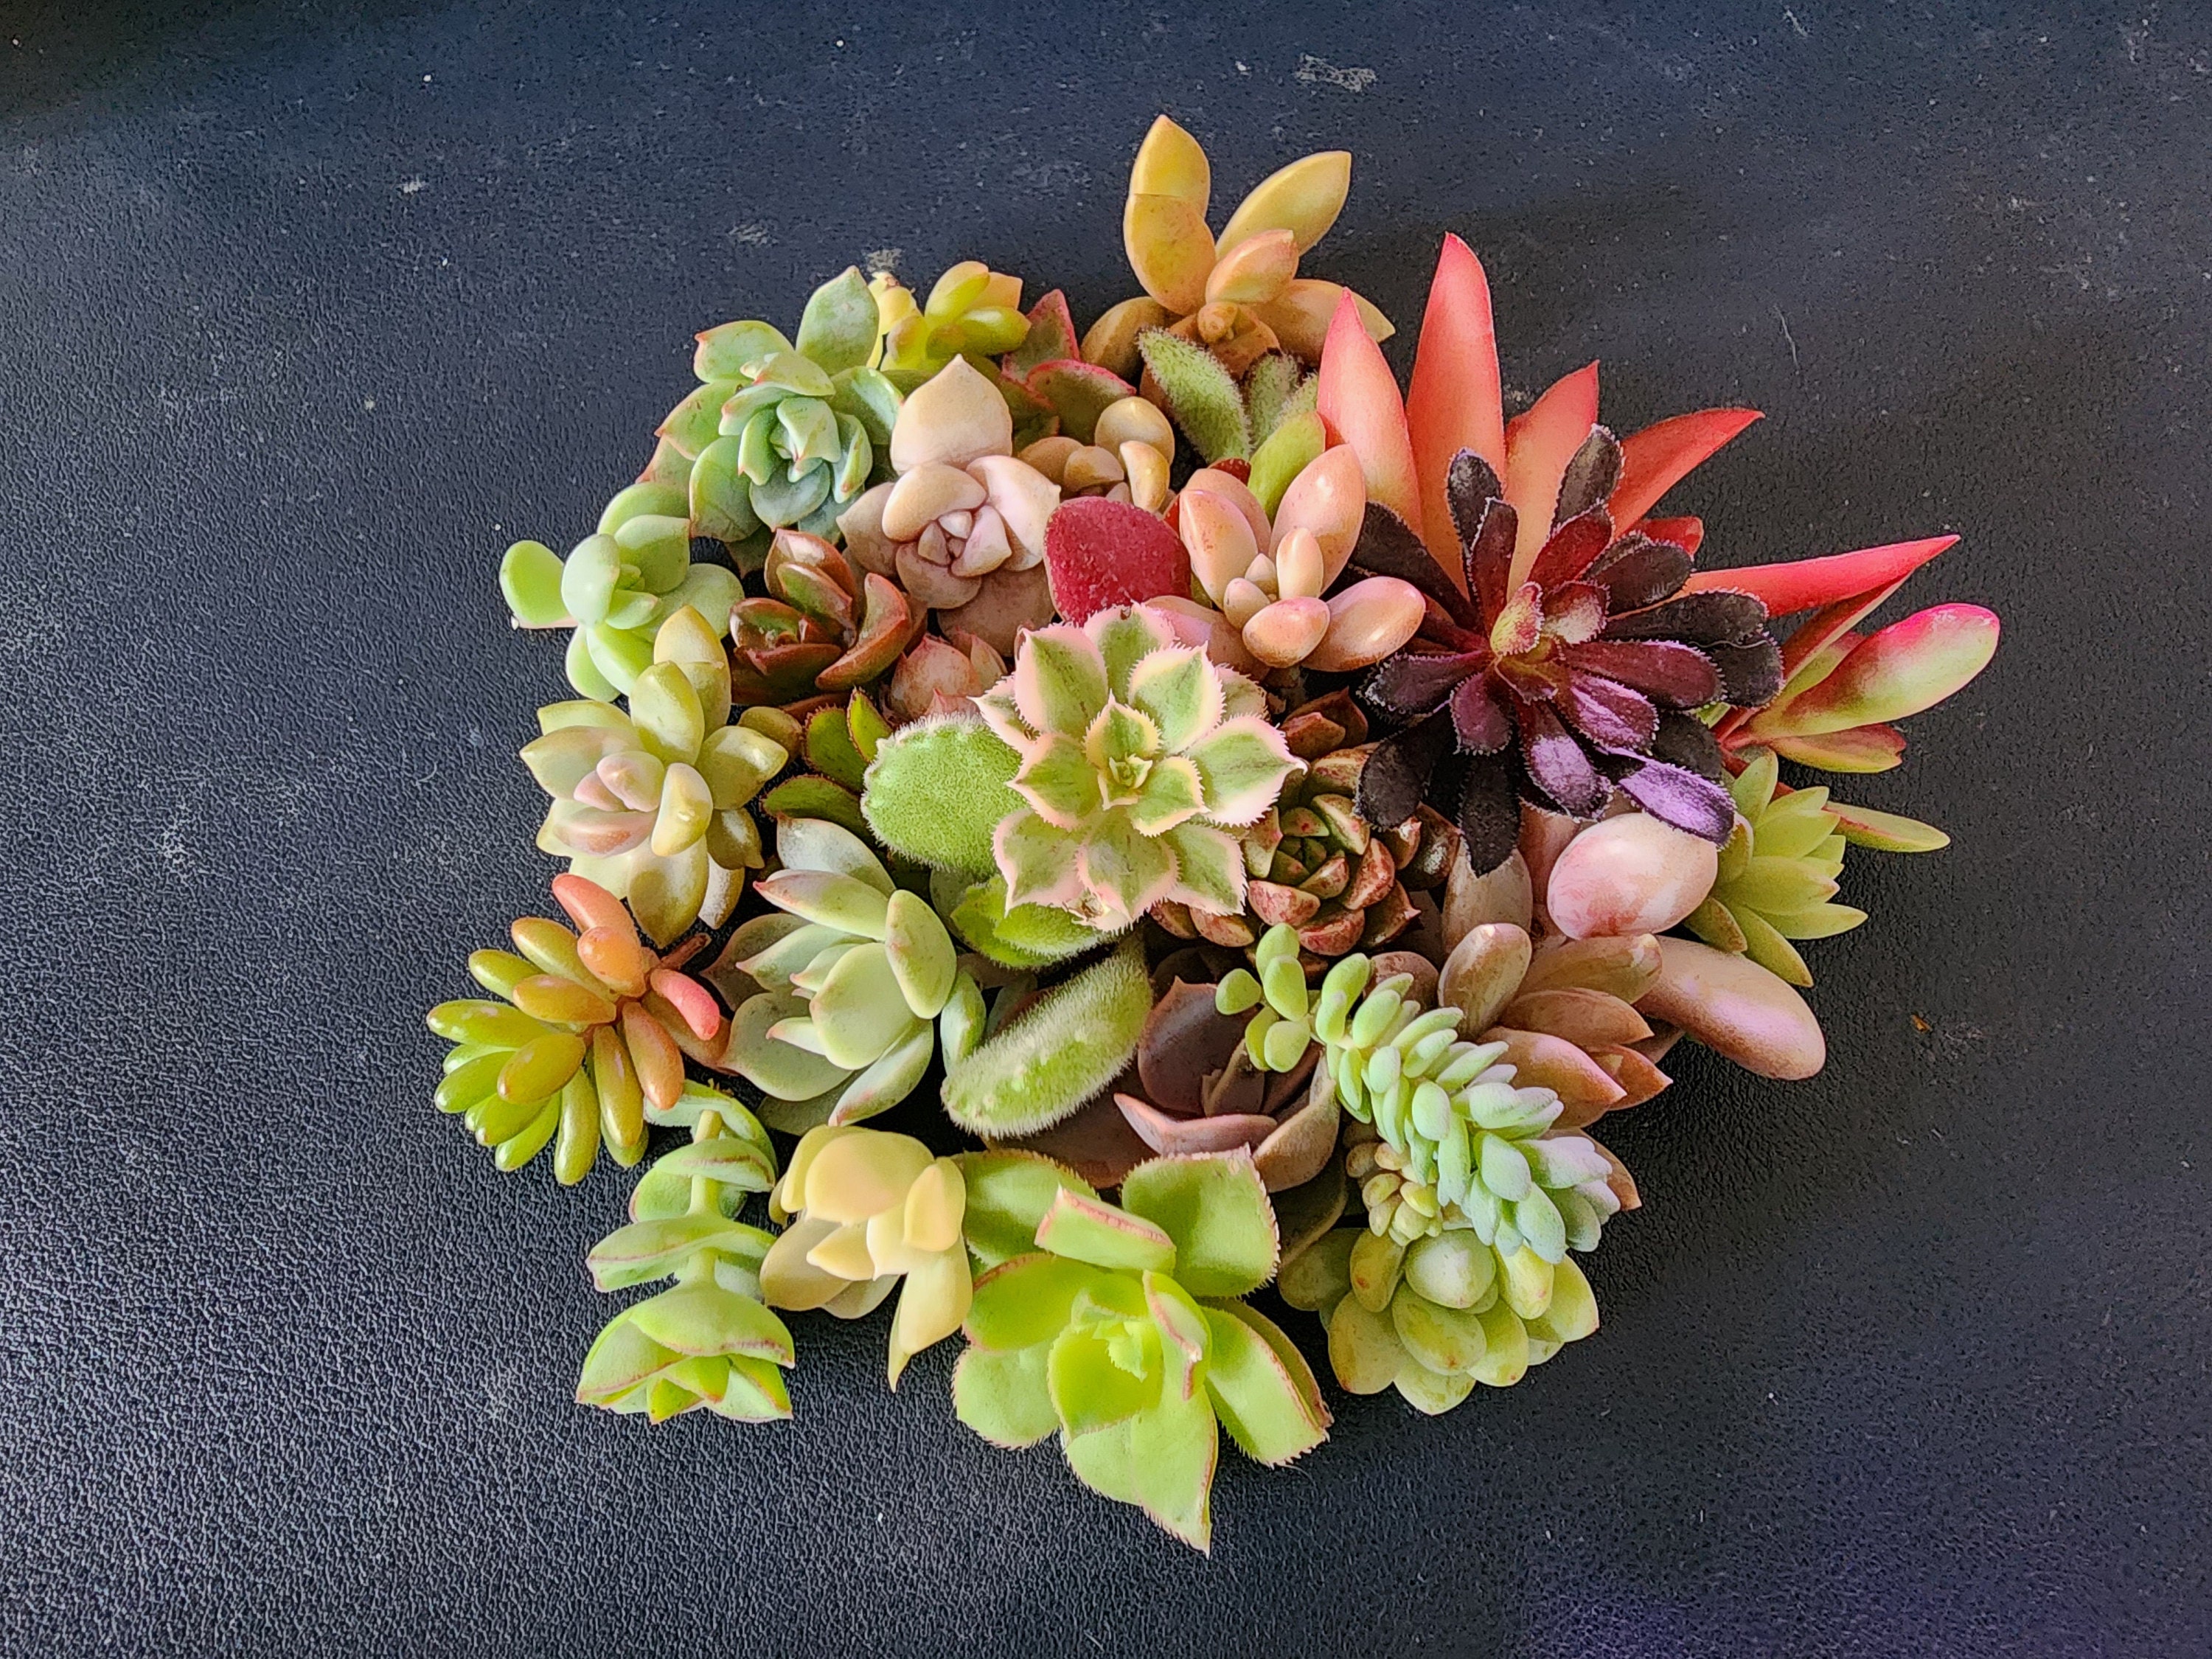
- Remove any packing material, such as tissue paper or bubble wrap, to reveal the cuttings.
3. Inspect the Cuttings:
- Examine each cutting carefully. It is normal for some leaves to have fallen off during shipping. Check for any signs of damage or rot.
- Check for Callusing:
- Your cuttings should have already formed calluses during transit. This means they are ready for planting
2. Prepare the Soil:
- Use a well-draining succulent or cactus mix. You can add pumice to regular potting soil to improve drainage.
- Fill small pots or a seed tray with the soil mix.
- Plant the Cuttings:
- Gently place each cutting into the soil. Insert the cut end into the soil about 1-2 inches deep.
- If the cutting has leaves, ensure the leaves are above the soil surface.
2. Watering:
- Water the cuttings lightly after planting. Succulents are drought-tolerant, so be careful not to overwater.
- Allow the soil to dry out completely between waterings. Initially, water once a week or when the soil feels dry to the touch.
- Succulent Garden Arrangement:
- Create a beautiful succulent garden in a decorative pot or a shallow dish. Arrange the cuttings in a visually appealing manner, combining different shapes and colors.
2. Centerpieces:
- Use the cuttings to make elegant centerpieces for your dining table, coffee table, or outdoor gatherings. Plant them in small pots or arrange them on a decorative tray.
3. Party Favors:
- Pot the cuttings in small containers and use them as party favors for weddings, baby showers, or birthday parties. Add a personalized tag for a special touch.
4. Terrariums:
- Incorporate the cuttings into glass terrariums with decorative stones, sand, and other succulents. Terrariums make lovely indoor displays and gifts.
5. Living Wreaths:
- Create a living wreath using a wire frame and sphagnum moss. Insert the cuttings into the moss and hang the wreath as a unique door decoration.
6. DIY Projects:
- Use the cuttings for various DIY projects, such as succulent ornaments, wall art, or miniature fairy gardens.
- Light:
- Place the pots in a bright location with indirect sunlight. Avoid direct sunlight initially, as it can scorch the tender cuttings.
- Gradually increase exposure to direct sunlight over a few weeks.
2. Temperature:
- Keep the cuttings in a warm environment, ideally between 70-80°F (21-27°C).
3. Humidity:
- Succulents prefer low humidity. Ensure good air circulation around the cuttings to prevent fungal growth.
4. Monitor Growth:
- Over the next few weeks, monitor the cuttings for signs of new growth. Roots should begin to form within 2-4 weeks.
- Once the cuttings are established and growing, you can follow a regular succulent care routine.
- Watering Schedule:
- After the cuttings are established, water them thoroughly but infrequently. During the growing season (spring and summer), water every 2-3 weeks. Reduce watering in the dormant season (fall and winter).
2. Fertilizing:
- Fertilize sparingly. Use a diluted succulent fertilizer or a balanced, water-soluble fertilizer at half strength during the growing season.
3. Repotting:
- As the succulents grow, you may need to repot them into larger containers. Choose pots with drainage holes to prevent waterlogging.
4. Pest Control:
- Keep an eye out for common pests such as mealybugs and spider mites. Treat infestations promptly with insecticidal soap or neem oil.